
Its always interesting to see how other photographers process their images. Grant Galbraith has kindly documented his workflow for his image captured at Cape Solander, which includes compositing 2 images in Photoshop and some adjustments in Lightroom. Thanks Grant!
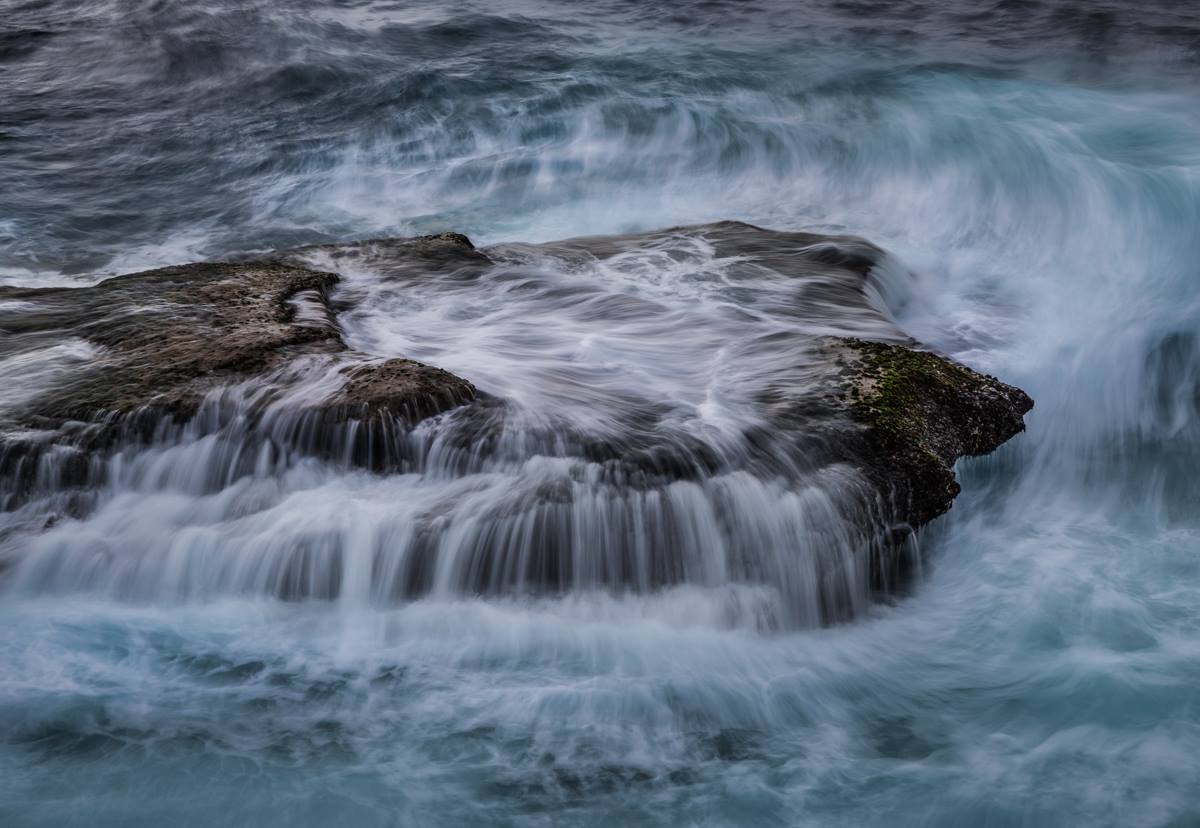
This image was taken on the Focus Cape Solander shoot on Sat 15th November. Near the end of the shoot I became fixated on this rock and the flow that was happening. Capturing flow is always a hit and miss thing and I think I took about 50 or so images to get the 2 I’m going to use here. I really liked the overall flow with this one bit wasn’t to keen on the surrounding water.
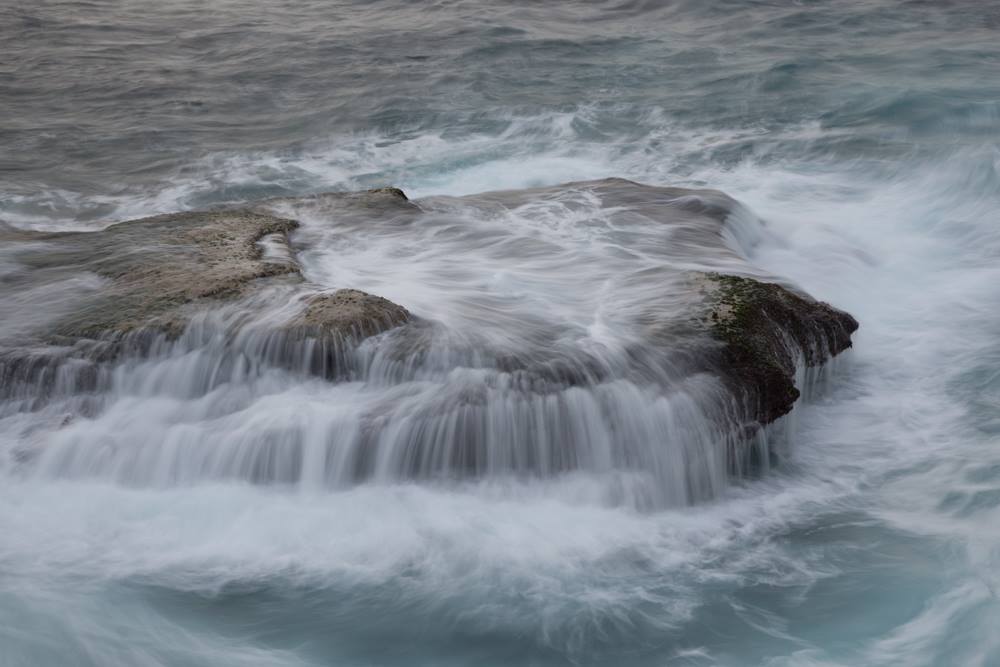
Solander – Rock flow
This next image had some really interesting water movement around the rock and I could see some potential to have a go at combining this and the other one. Both were loaded from Lightroom into Photoshop as layers. The nice thing about opening both images this way is that the finished image imports automatically back into Lightroom when you are done.
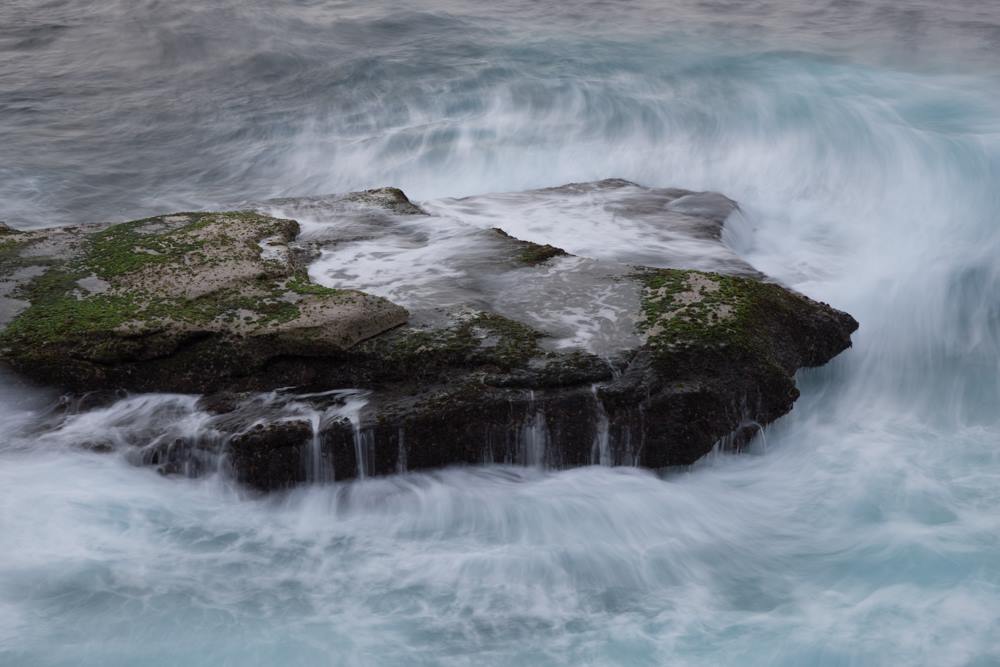
Solander – Water flow
Here in photoshop I had a go at a process that can be a bit hit and miss. Using the lasso tool I drew around the sections of the rock that in the first image that I wanted to lay over the top of the more interesting surrounding water. I then play with the feathering until I have something that looks like to might work. A quick copy and past of the selection and I was lucky enough to get something that worked first time. Sometimes I might have to make a few adjustments with a feathered eraser but not with this one. Saving the image puts it back into Lightroom for final adjustments.
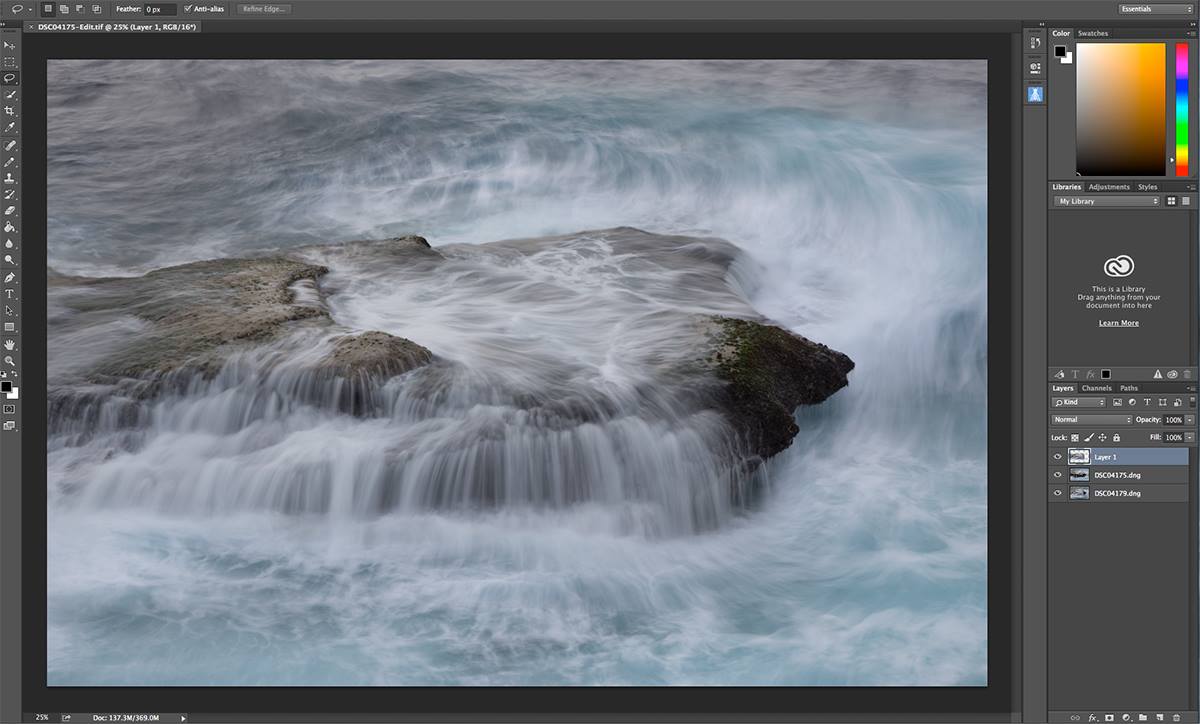
Photoshop composite of rock flow and water flow
With the composite in place I began with my usual workflow. I make adjustments to the overall image such as vibrancy, clarity, highlights, contrast, lights, darks, and selective adjustments of the colour channels. I loved the potential of the water colour in this image so focused most of my efforts there. Once that is mostly in place I begin with radial filters to make finer adjustments. As mentioned in my previous write up there are many that can go into an image and I make various adjustments to the contrast, highlights and overall lighting in specific sections. I tend to think of these as the equivalent of layers in photoshop and in all there are 13 in this image. Sometimes I need to use the brush tools and the grad ND filters with an image like this but not in this case.
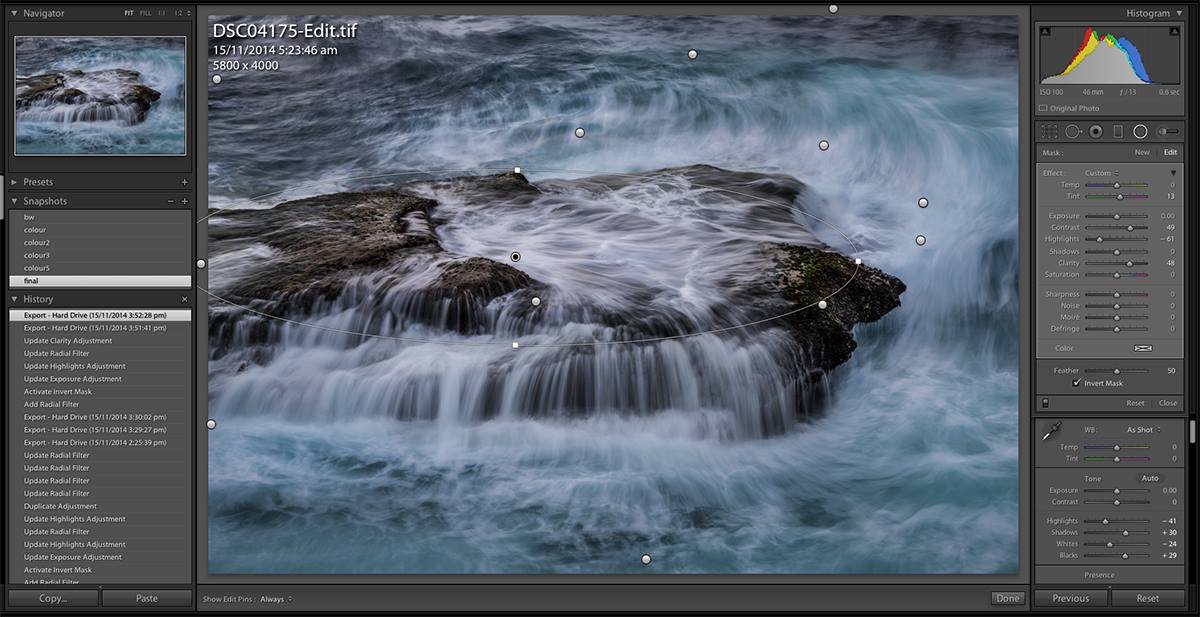
Lightroom adjustments
The final image
Final image
You can find out more about Grant and his images here:
Website: http://grantgalbraith.com/
Facebook Page: https://www.facebook.com/GrantGalbraithPhotoImages
Flickr: https://www.flickr.com/photos/grant6