
Panoramic Stitching
This panorama was shot on my Fuji X-E2 with a new 10-24mm lens and a new untested pano head. Therefore the basics like entrance pupil location weren’t sorted. I guesstimated and got it about right. There is a great link on the panotools website the lists entrance pupil information for a wide range of lenses. I use this as a basis for my estimates.
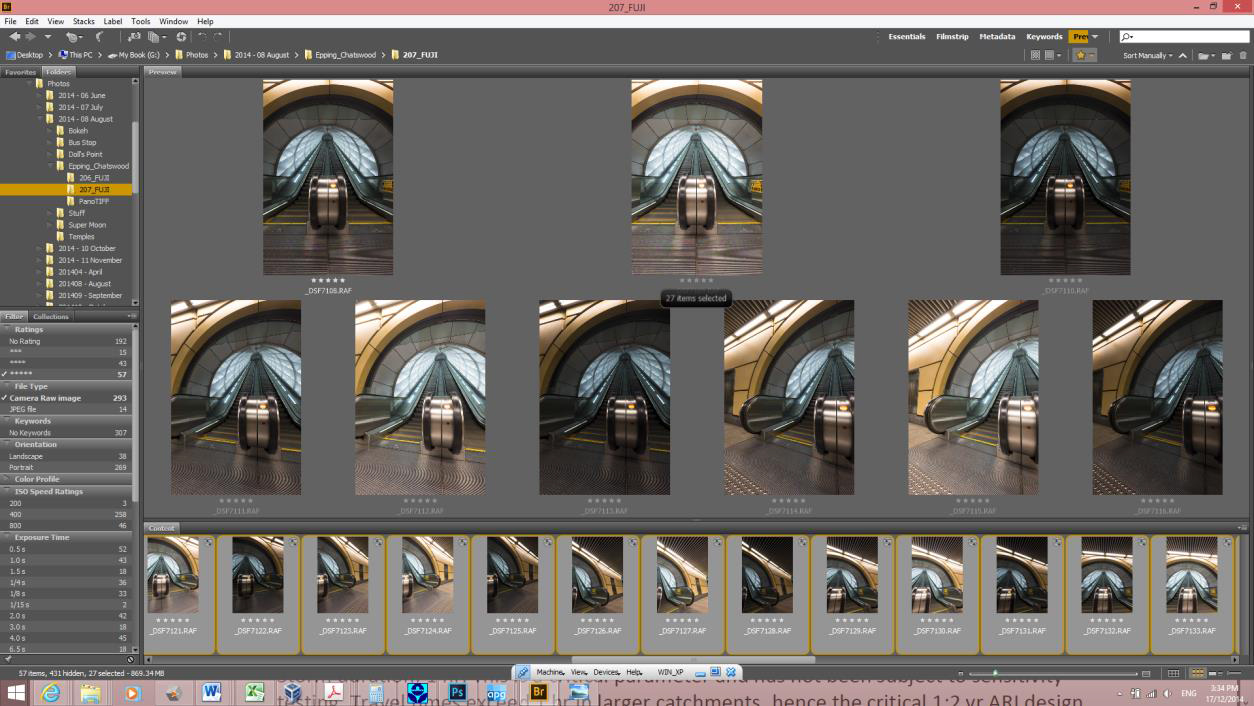
The pano consisted of a sequence of 27 base images ( brackets of 3 images per bracket +/- 1 E.V.). I use Adobe Bridge to organise my sequences of base pano images:
Adobe Camera RAW interface
I open the images in camera raw and adjust the settings to suit. Here is a base image from this sequence with all settings at their default values:
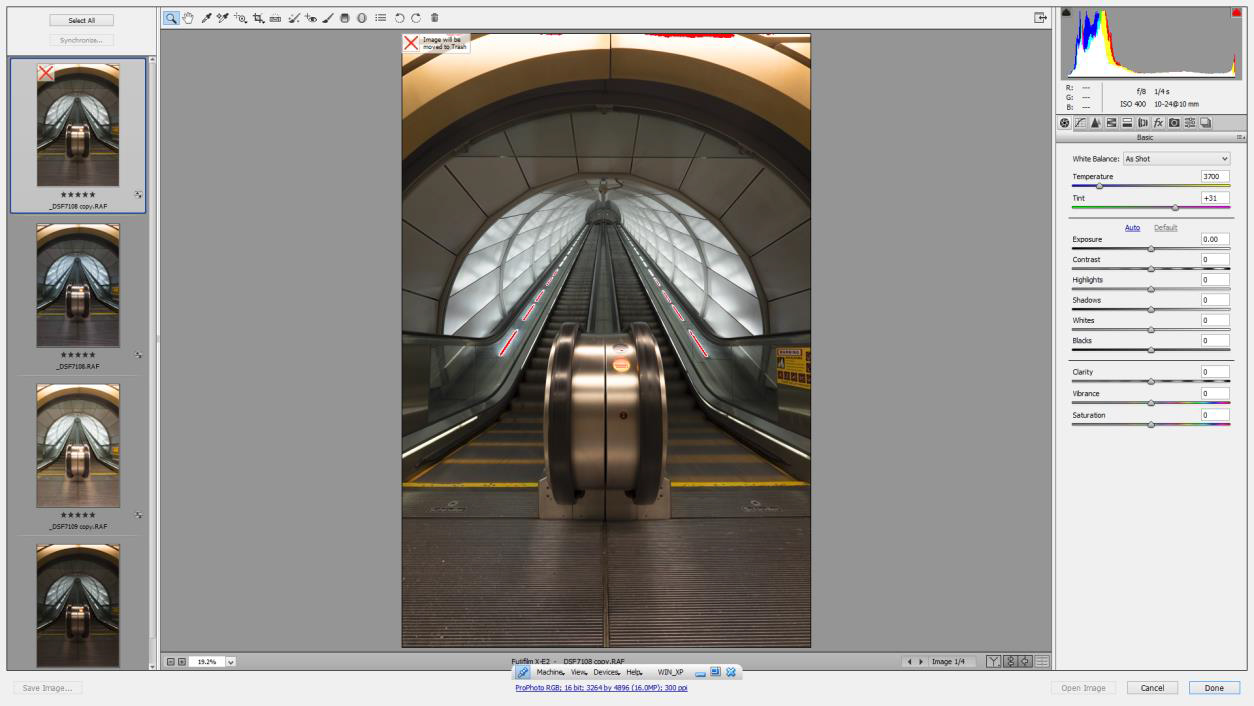
RAW image with Adobe Camera RAW default settings
To get the look I wanted, I cooled the white balance a touch, added contrast, sharpened the image, recovered highlights and adjusted clarity and vibrance. I then synchronise the settings across all images in the sequence.
The fuji files respond well to sharpening at the time of raw conversion. Most camera raw files do not. As I don’t use gradutated neutral density filters, I often have to hit highlight recovery hard. This saps contrast from the image but my post processing is very contrast heavy so I can usually get away with it. sometimes I manually adjust exposure across images if there is a large change across the sequence.
Here is an image from the Belly of the Beast sequence with the selected settings applied:
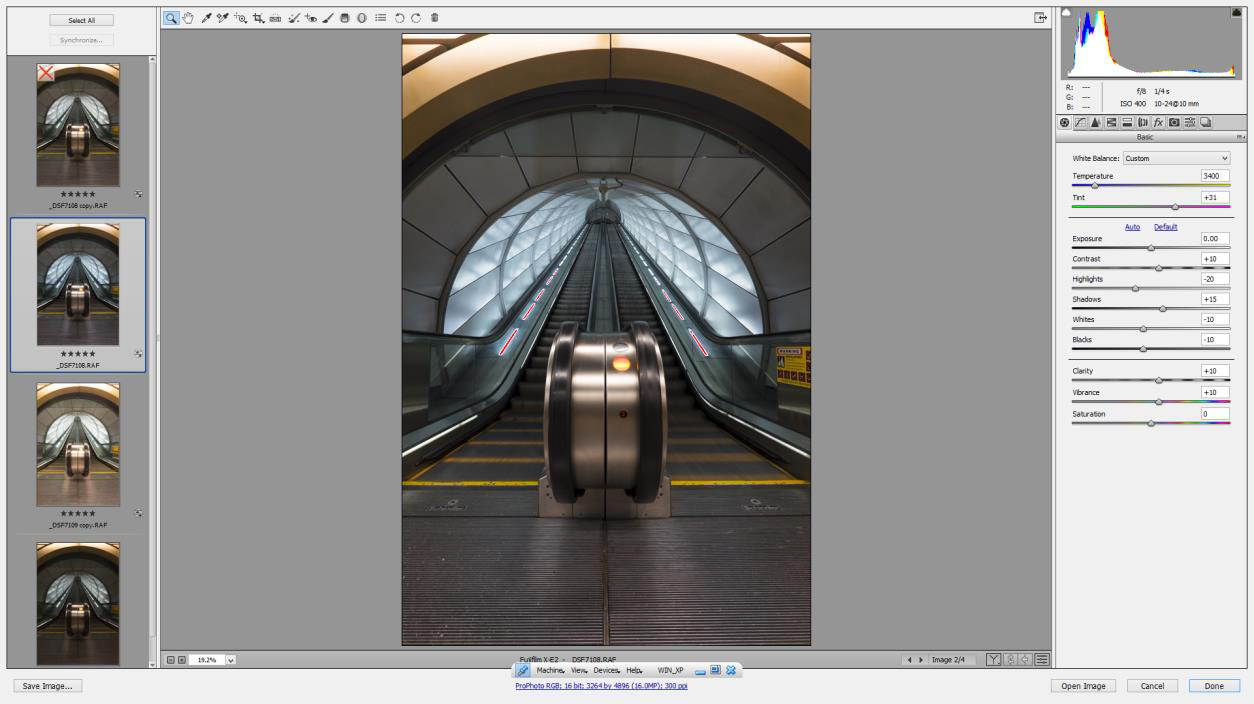
RAW file with adjustments
I export my adjusted images to TIFF for processing in Autopano:
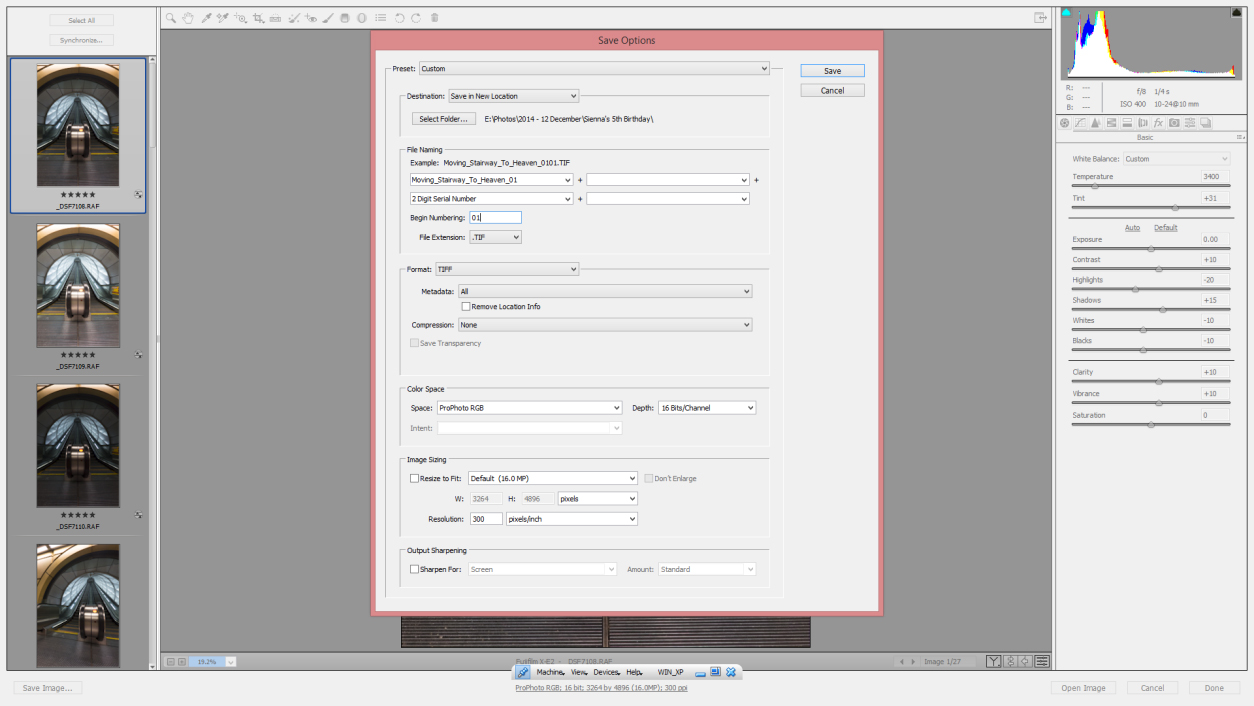
ACR export interface
Within Bridge, I can select the exported TIFF files and open them in Autopano:
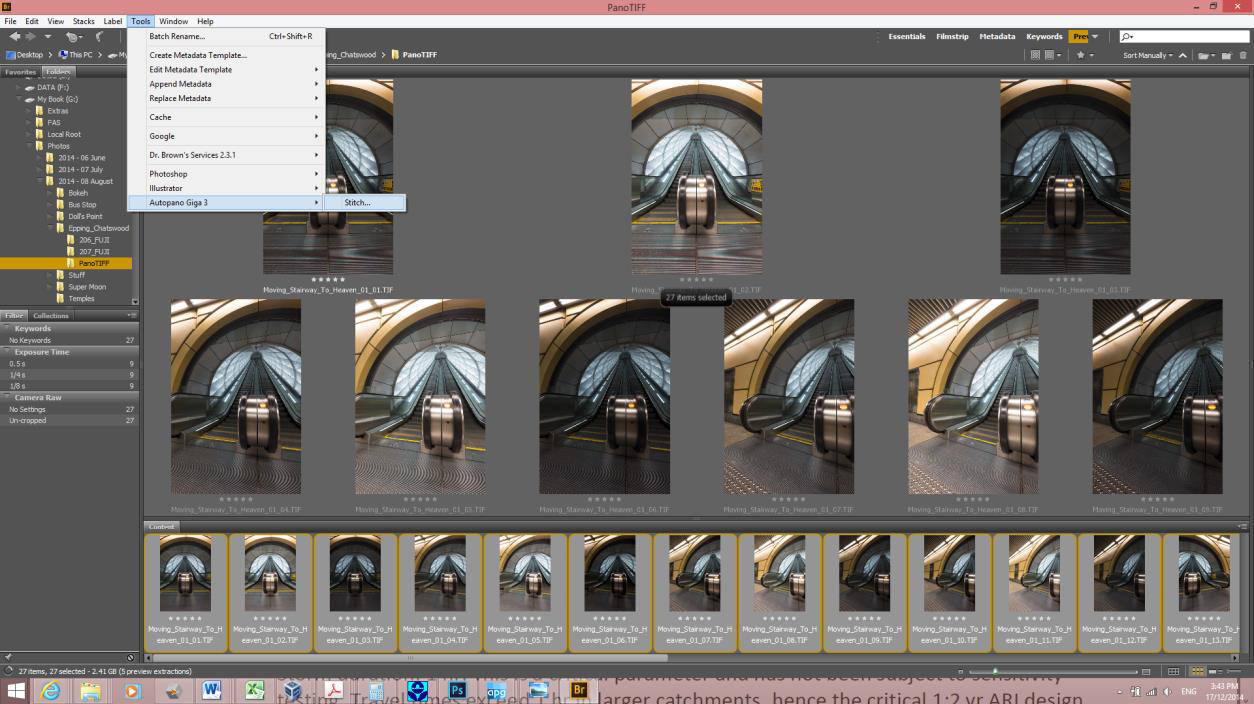
Autopano integration within Adobe Bridge
The files open in Autopano and I complete the basic stitch. The Autopano window with default stitch results is shown below:
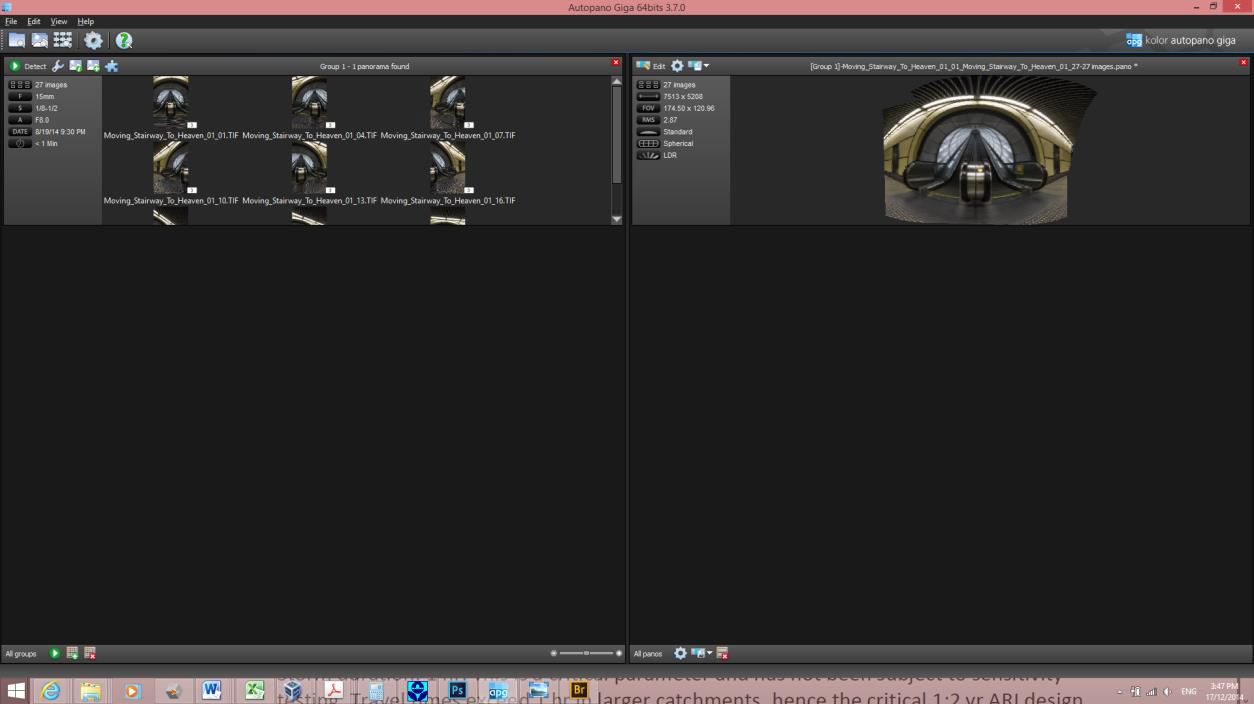
Default stitch within Autopano
The stitch has worked reasonably well. The reported stitching error (Root Mean Square) is 2.96 pixels. Due to the wide field of view in the base images, Autopano has chosen a spherical projection. Autopano has estimated the angular field of view as 174.50 degrees x 120.96 degrees. This is beyond the range of most lenses except an 10 mm or wider fish eye on a full frame camera.
You can see how close I was to the escalators in the image below of the default stitch and projection. Notice how you can’t see the anti-slip knobbles in front of the lens. I recall I was less than one metre away from the escalator. This was done for compositional reasons but created difficulties in terms of processing the pano.
I wanted to get the perspective all the way to the top of the escalator to give a real sense of depth. If I setup further back, I lost visibility of the top of the escalator. I wanted balance with the empty bin recesses either side visible. I wanted to be able to get the texture of the stainless steel pad at the bottom of the escalators in. I wanted to be able to see the escalator tread all the way up on both sides so I had to be a certain distance from the centre to achieve that. I wanted perfect symmetry.
Instead of compromising on what I wanted in the scene, I shot an ultawide pano at 10mm focal length! The default spherical projection didn’t give me the straight lines I wanted:
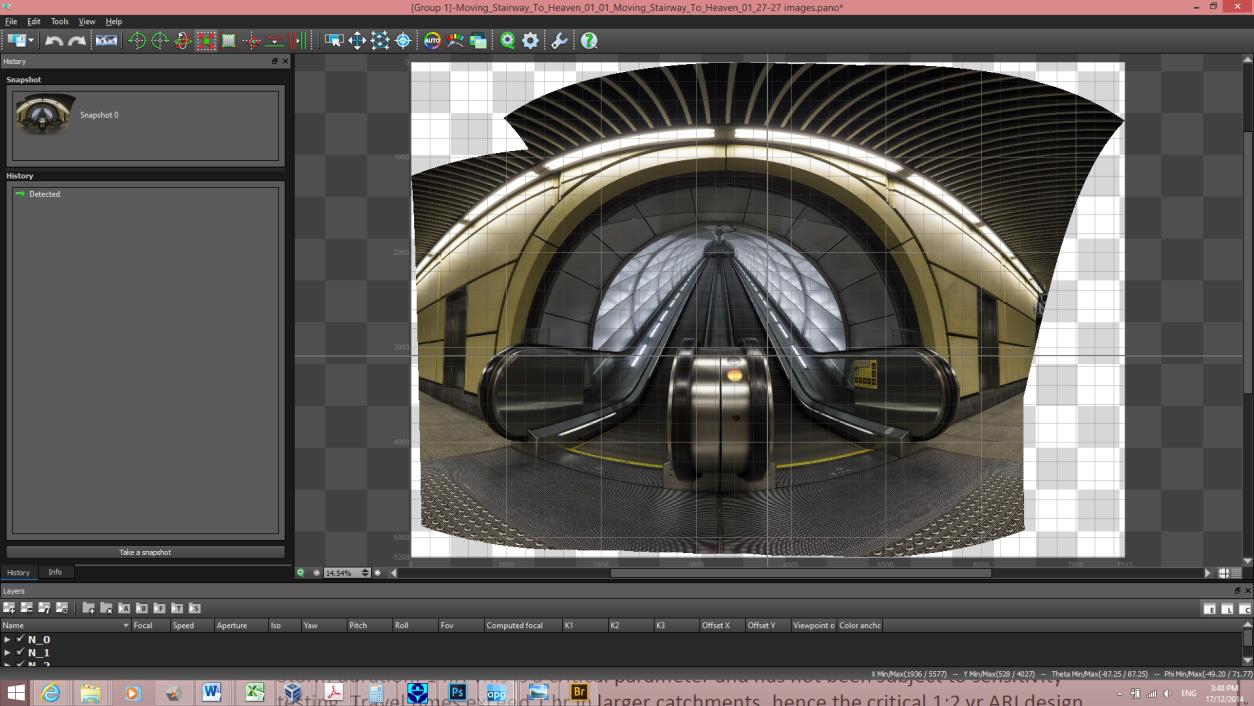
Default stitch with spherical projection
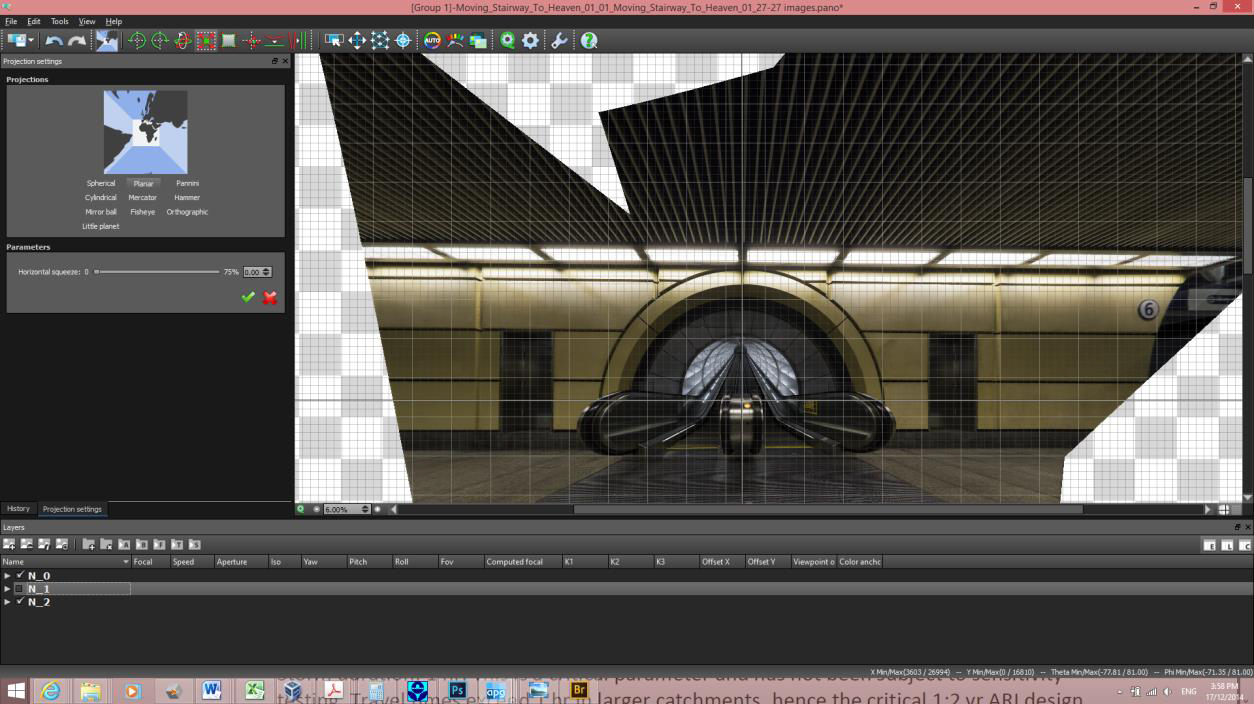
I changed the projection to planar (Autopano’s nomenclature for rectilinear) to get straight lines straight. The result is still a bit of a mess:
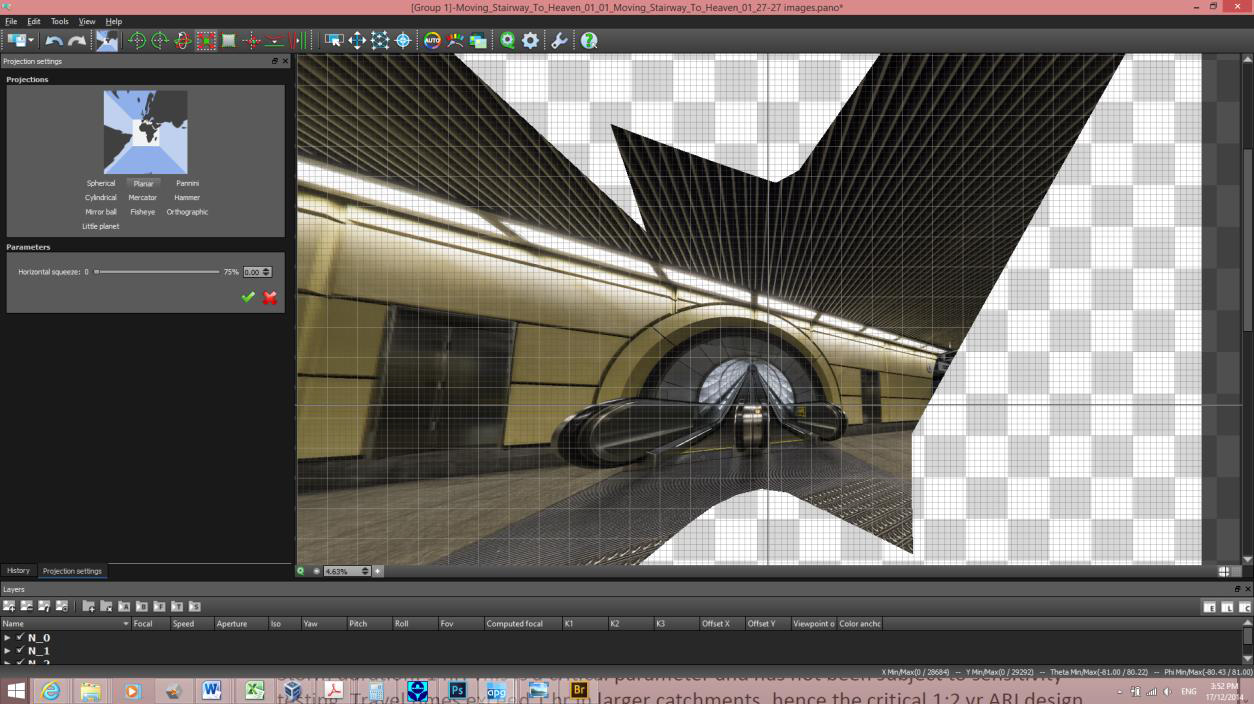
Planar projection applied to default stitch
To get my image looking right, I used the perspective correction tools in Autopano. The tool allows you to draw lines indicating which bits should be horiontal and which bits should be vertical. In the image below, green lines are made horizontal and blue lines are made vertical:
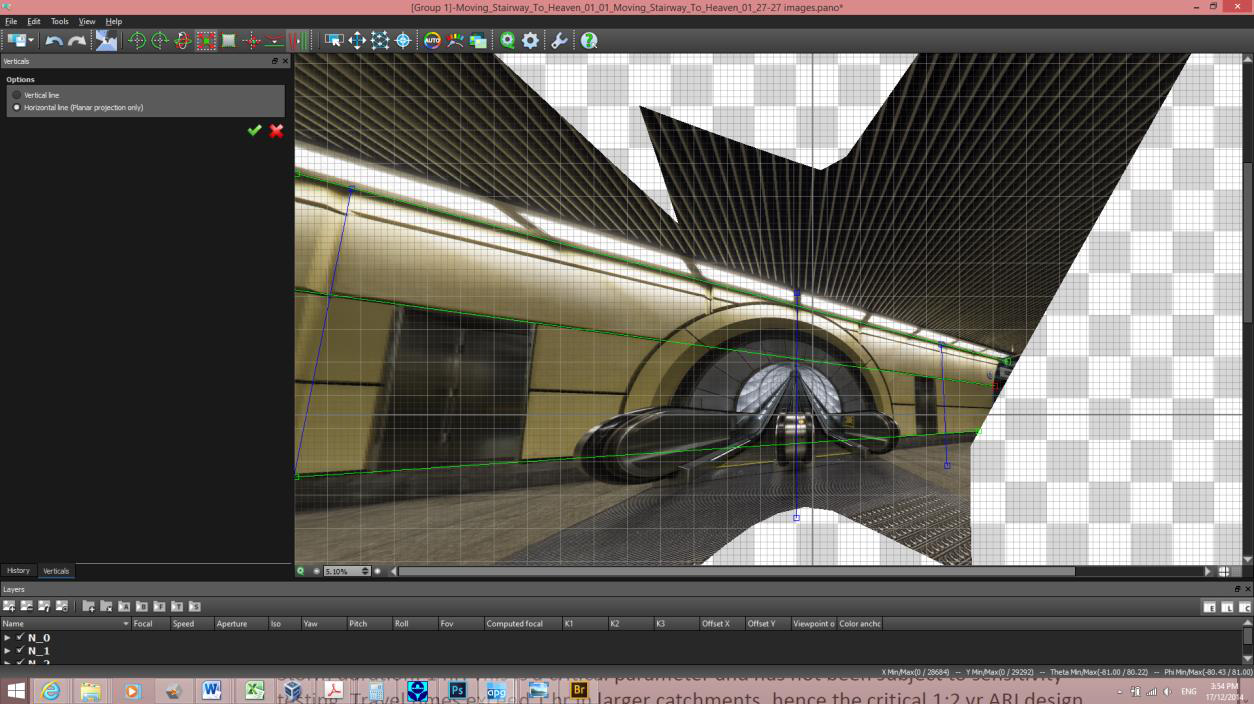
Applying perspective correction within the Autopano interface
The result after the first pass of perspective correction is not bad. I use the yaw, pitch and rotation tools to get the perspective as close as possible to how I want it:
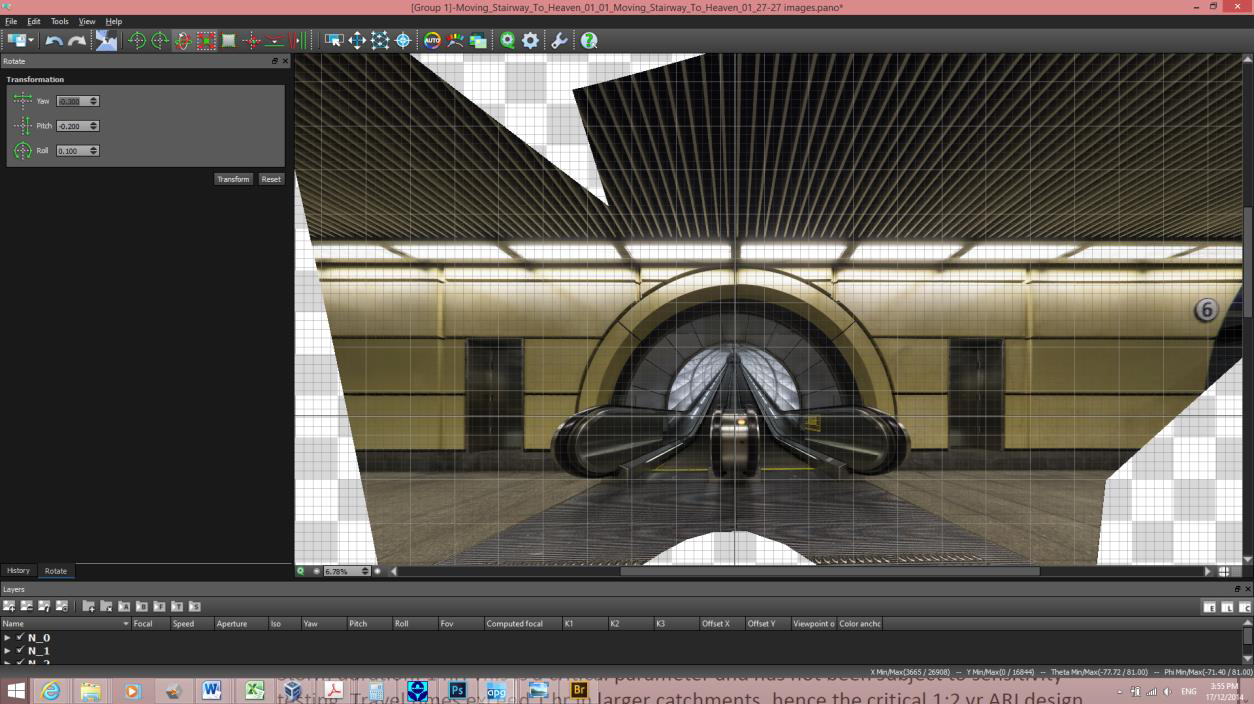
Panorama after perspective correction
Looking at the exposure preview, I decided to remove the +1 EV bracket due to blown highlights in the preview image:
Selecting which brackets to use
I save the project and export the project to a 16 bit PSD file for finishing in photoshop. For complex images, I export the aligned images only and blend using Auto-Blend within photoshop. In this case the default blending in Autopano sufficed.
Finishing in Photoshop
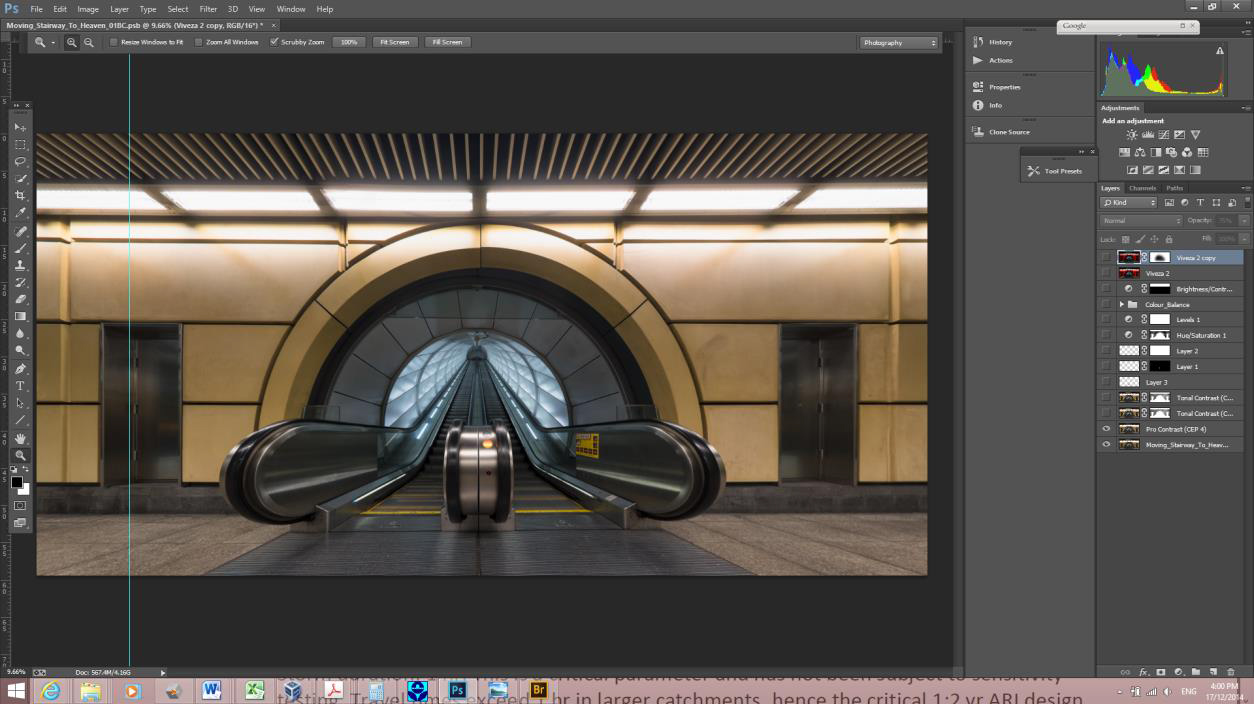
The exported PSD file is opened in photoshop. Here is a view of the exported pano:
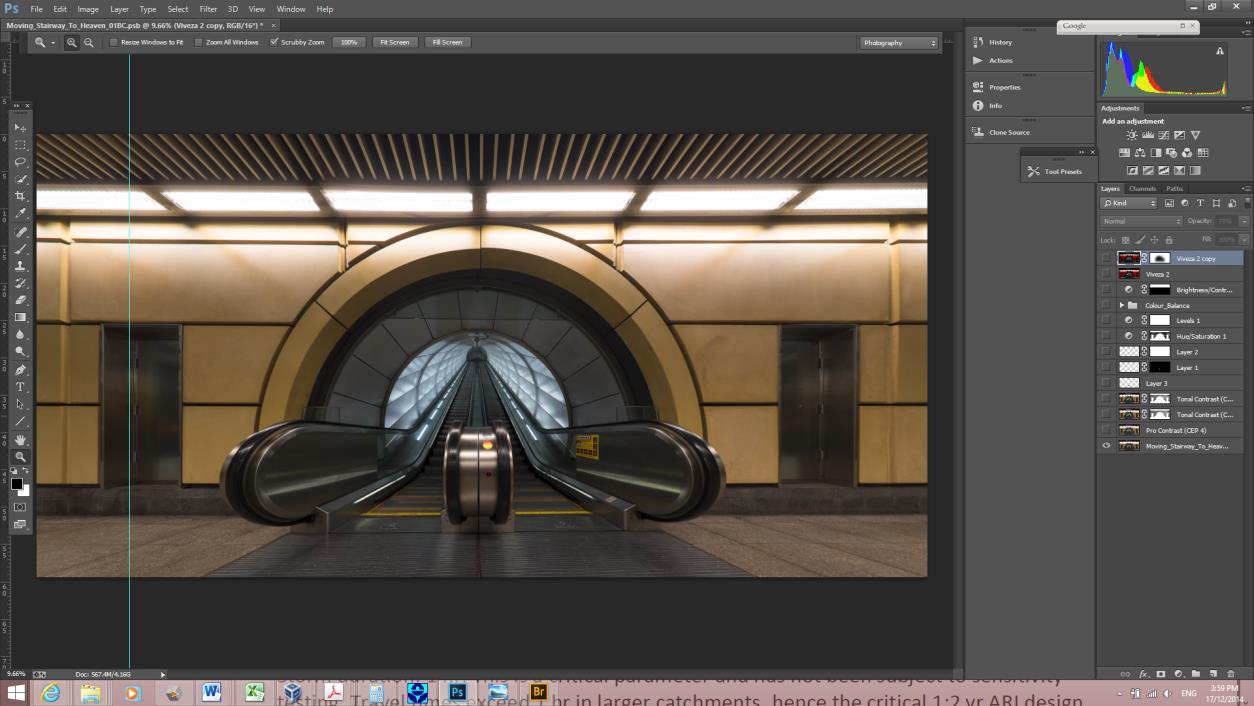
Stitched panorama opened in Photoshop CC
Here is a 100% view up the tunnel:
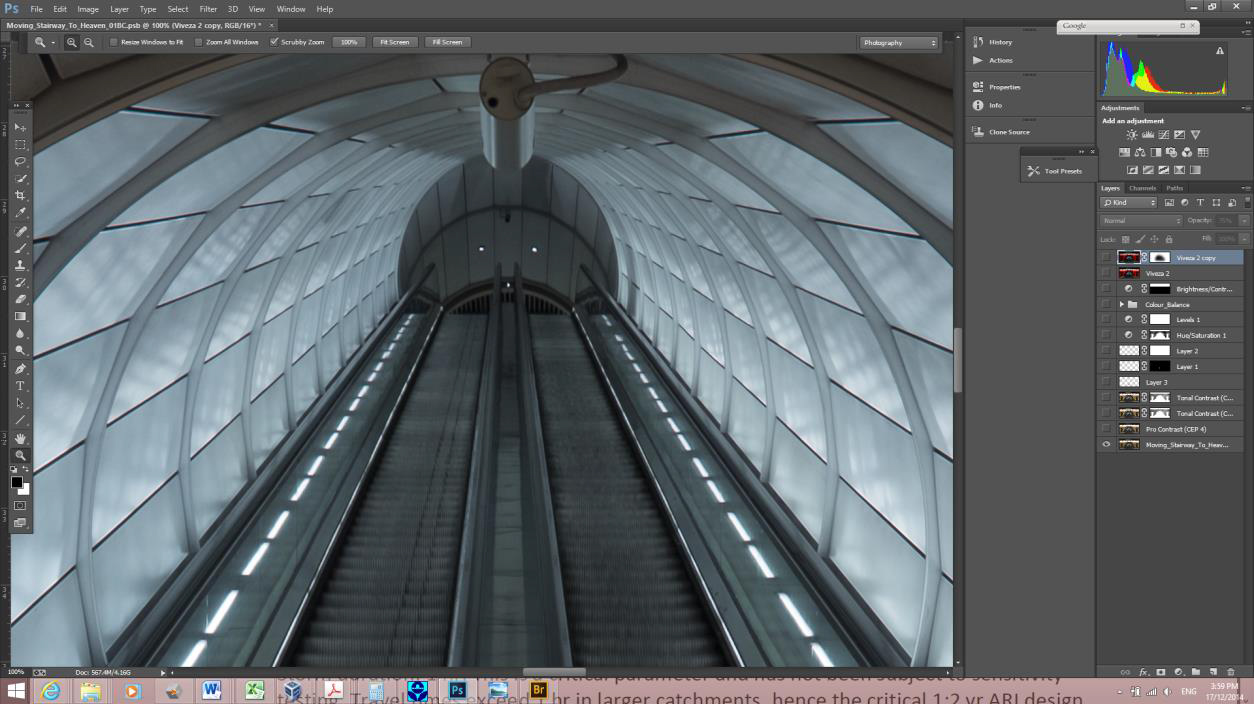
100% magnification view of panorama
I almost always start with a Pro-Contrast adjustment layer in NIK to balance exposure:
Panorama after applying NIK Color Efex Pro-Contrast adjustment
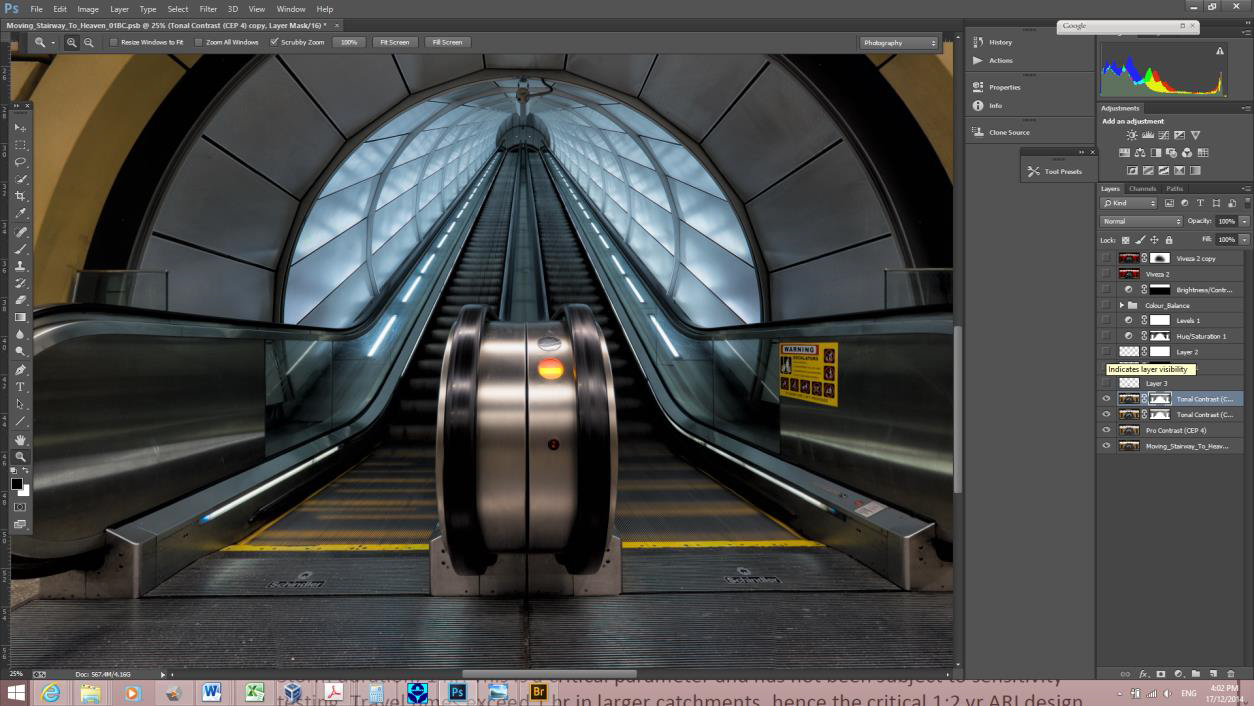
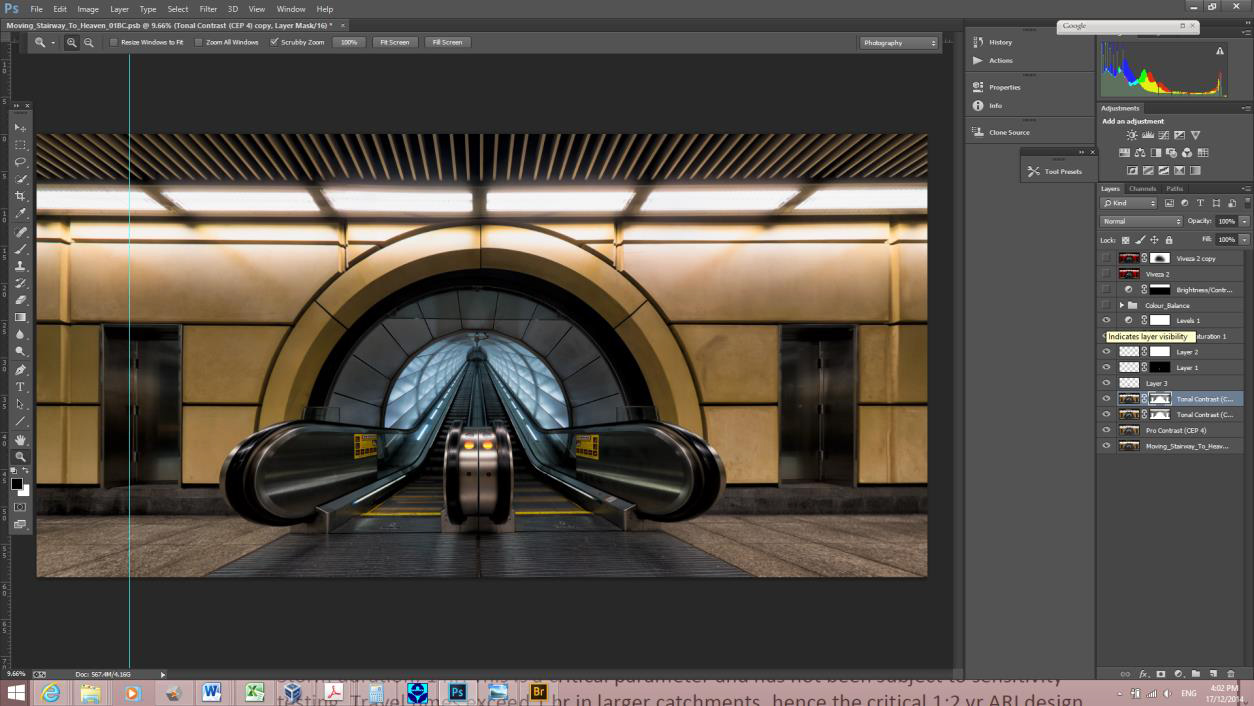
I next apply a Tonal Contrast layer with layer mask to add punch to foreground and escalators:

Panorama after applying NIK Color Efex Tonal Contrast adjustment
The mask was made using a combination of automatic tools and manual masking:
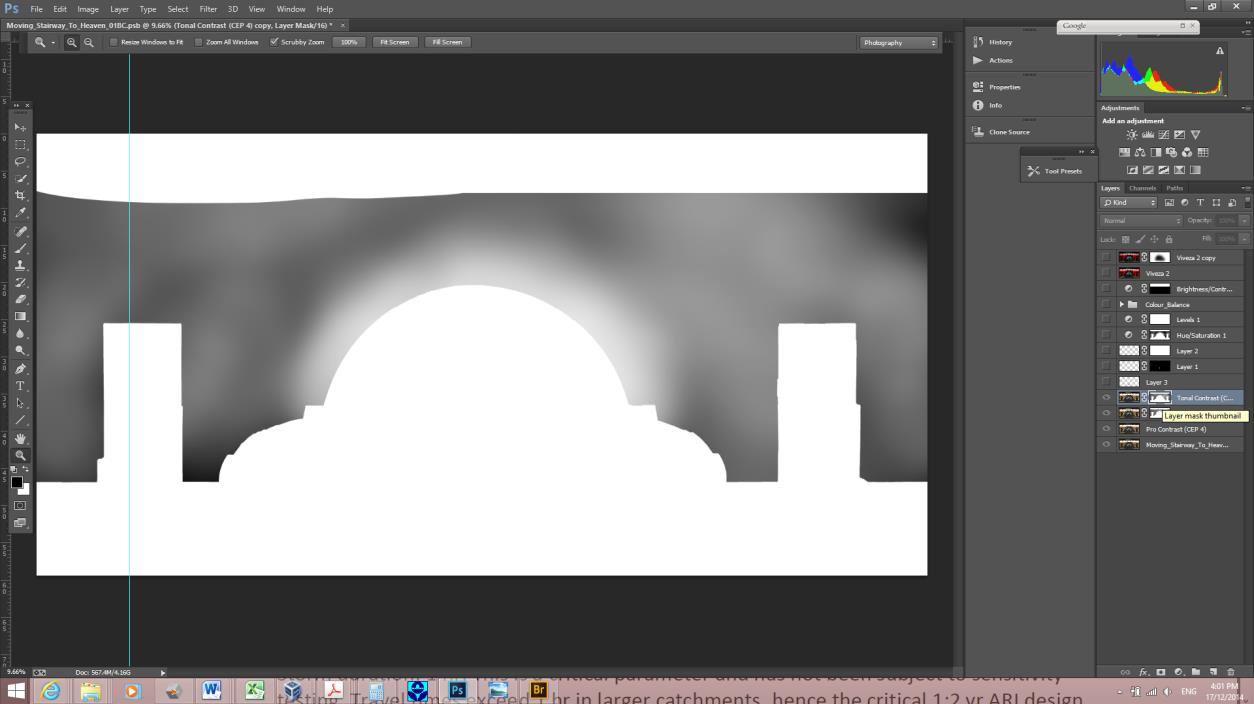
Mask applied to tonal contrast layer
I duplicated a couple of items onto the left hand escalator for balance:
Panorama before duplicating and mirroring specific items

Panorama after duplicating and mirroring specific items
I used a Levels adjustment to darken the overall image:
Panorama after applying a levels adjustment to darken overall image
I came up with the concept of being in the belly of the beast. To achieve a devilish look, I used colour balance, hue and saturation adjustments to add the signature red to the walls. I chose not to clone out the marks on the walls from graffiti removal although almost all feedback I have had suggests I should. I feel they add texture and reality to a surreal image:
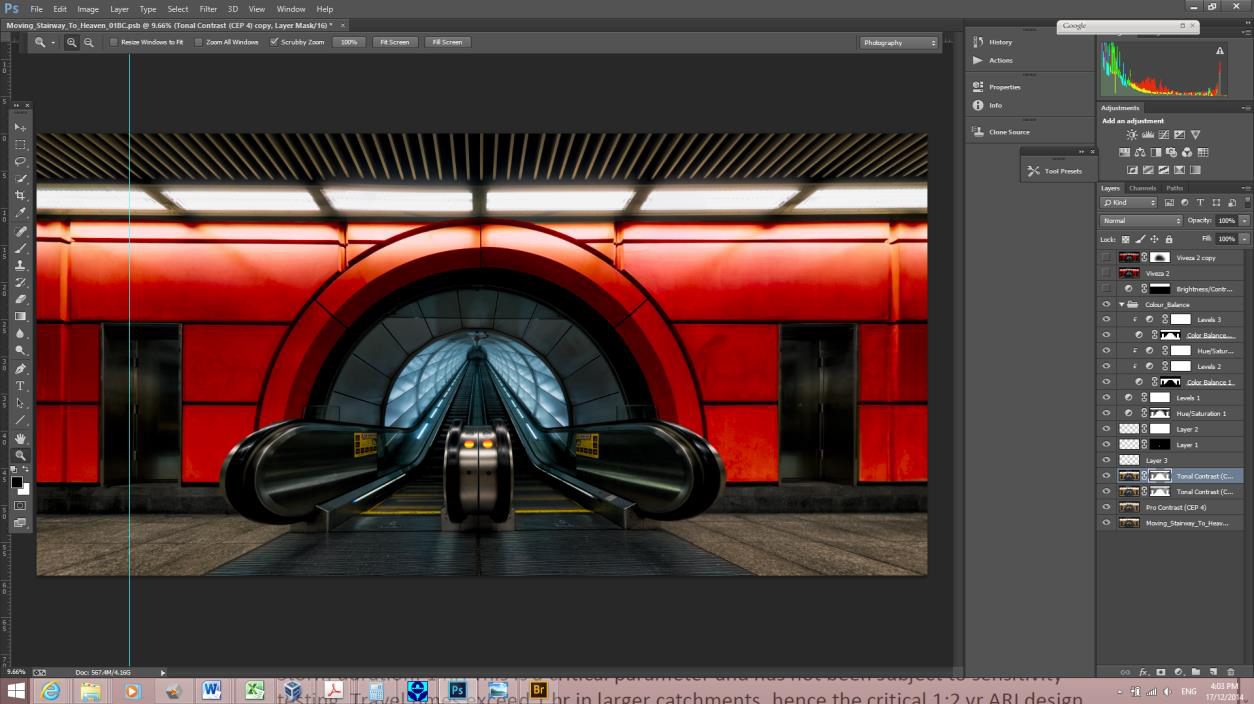
Image after using colour balance, hue and saturation to tone the station walls red
I darkened the overhead lights as I felt they were distracting. On review I might reduce or remove this:
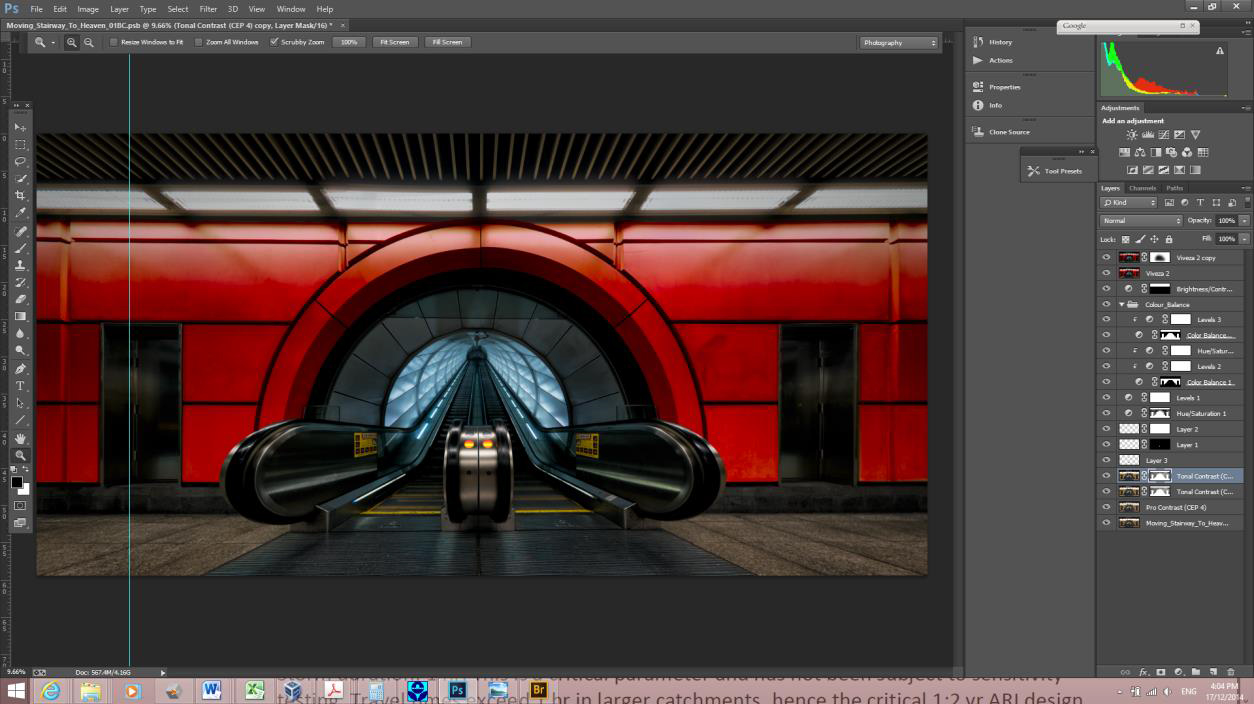
Darkening of highlight areas
Some selective darkening to get the final look I wanted:
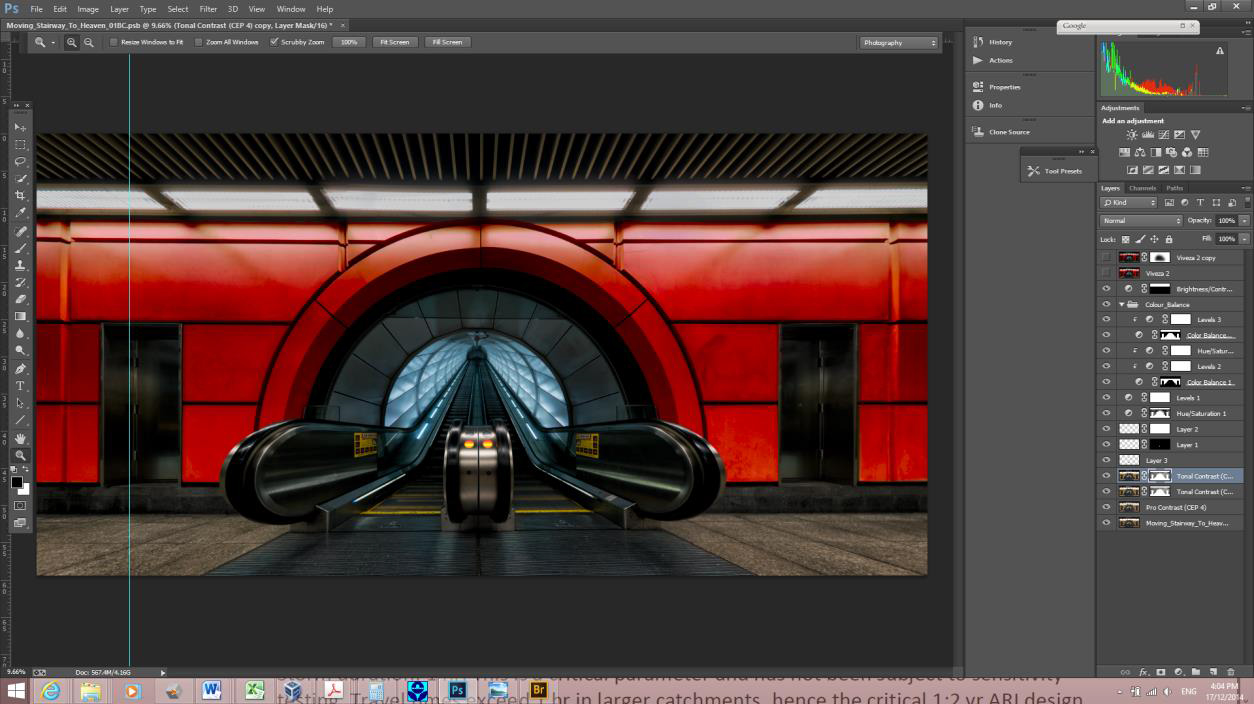
Final levels adjustment to darken areas for emphasis
You can find more of Ian’s photos on:
Website: http://www.focusedphotography.com.au